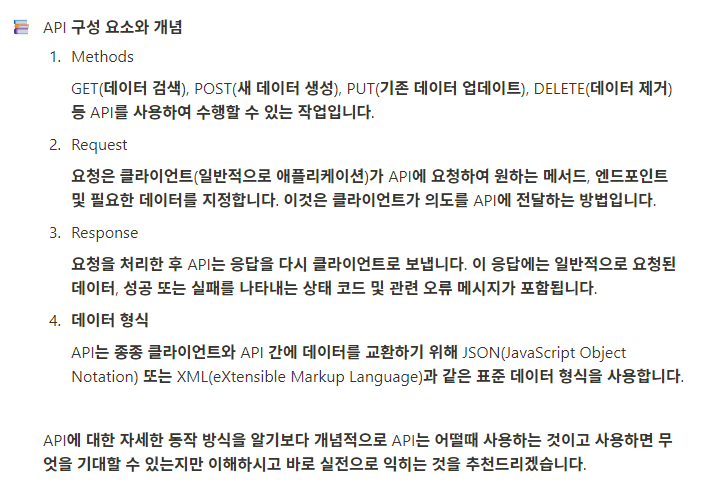
API ( Application Programming Interface )
소프트웨어 애플리케이션이 서로 통신하고 데이터를 공유할 수 있도록 하는 규칙, 프로토콜.
즉, 정해진 규칙에 따라 상호간의 데이터를 주고받기 위한 방법론이라고 할 수 있다.
API 사용하기 ( HTTP 통신 )
HTTP 라이브러리
HTTP 요청을 보낼 때 사용하는 대표적인 라이브러리. 이를 통해 앱이 REST API와 통신할 수 있으며, 서버로부터 데이터를 가져오거나 서버에 데이터를 전송할 수 있다. 즉, 서버와의 통신을 담당하는 라이브러리.
주요기능
- Get
- Post
- Put / Delete
1. GET (http.get)
읽기 전용 작업으로써, 리소스에 대한 정보를 검색하는데 사용되는 기능
// http 패키지의 정의된 get함수
Future<Response> get(Uri url, {Map<String, String>? headers})

// 사용법
http.get('https://sample.com/posts', headers : {'Authorization' , 'Auth Key'});
2. POST (http.post)
새 리소스를 만드는데 사용되는 기능
// http 패키지의 정의된 post함수
Future<Response> post(
  Uri url, {
  Map<String, String>? headers,
  Object? body,
  Encoding? encoding,
})

// 사용법
http.post('https://sample.com/post', headers : {'Authorization' , 'Auth Key'}, body : {'name':'개남'})
3. PUT (http.put)
기존 리소스를 새 데이터로 업데이트 하는 데 사용되는 기능
// http 패키지의 정의된 put함수
Future<Response> put(
  Uri url, {
  Map<String, String>? headers,
  Object? body,
  Encoding? encoding,
})

// 사용 법
http.put('https://sample.com/post/1', headers : {'Authorization' , 'Auth Key'}, body : {'name':'개남'})
4. DELETE (http.delete)
리소스를 제거하는데 사용되는 기능
// http 패키지의 정의된 delete함수
Future<Response> delete(
  Uri url, {
  Map<String, String>? headers,
  Object? body,
  Encoding? encoding,
})

// 사용 법
http.delete('https://sample.com/post/1', headers : {'Authorization' , 'Auth Key'});
API ( HTTP통신 ) 이용법
무료 api인 JSONPlaceholder를 이용한 예제
https://jsonplaceholder.typicode.com/guide/
1. http 패키지 설치
// Terminal
flutter pub add http
2. FutureBuilder의 사용
FutureBuilder를 사용하는 이유는, api와 통신을 할때 약간이나마 대기시간을 주기 위함이다. 만약 값이 넘어오기도 전에 다음 코드가 진행이 되버릴 경우, null 값이 들어오게 되어 오류가 발생할 수 있기 때문
class _MyHomePageState extends State<MyHomePage> {
  Future<String> fetchData() async {
    await Future.delayed(const Duration(milliseconds: 2000));
    return '데이터 로드 완료';
  }

  @override
  Widget build(BuildContext context) {
    return Scaffold(
      appBar: AppBar(
        backgroundColor: Theme.of(context).colorScheme.inversePrimary,
        title: Text(widget.title),
      ),
      body: Center(
        child: FutureBuilder<String>(
          // future를 통해 대기시간동안 처리할(보여줄)함수 로직
          future: fetchData(),
          // future로직이 시작전 / 끝난 후 처리될(보여질) 로직 (snapshot이 2번 호출됨)
          builder: (BuildContext context, AsyncSnapshot<String> snapshot) {
            if (snapshot.hasData) {
              return Text(snapshot.data!);
            } else {
              return const Center(
                child: CircularProgressIndicator(),
              );
            }
          },
        ),
      ),
    );
  }
}
3. futureDate 함수를 통해 api 통신
import 'package:http/http.dart' as http;
Future<String> fetchData() async {
final url = Uri.parse('https://jsonplaceholder.typicode.com/posts');
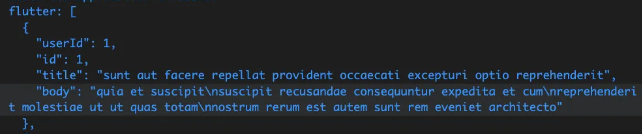
final response = await http.get(url);
print(response.body);
return '데이터 로드 완료';
}
4. Json 형식으로 들어오는 데이터를 정제하기 위한 모델 설계 및 사용
// 각각의 데이터를 매칭하여 모델 설계
class Post {
  final int id;
  final int userId;
  final String title;
  final String body;

  Post({required this.id, required this.userId, required this.title, required this.body});

  factory Post.fromJson(Map<String, dynamic> json) {
    return Post(
      id: json['id'],
      userId: json['userId'],
      title: json['title'],
      body: json['body'],
    );
  }
}
// fetchData 함수에 모델을 이용해 데이터 사용
Future<List<Post>?> fetchData() async {
final url = Uri.parse('https://jsonplaceholder.typicode.com/posts');
final response = await http.get(url);
if (response.statusCode == 200) {
List jsonResponse = json.decode(response.body);
return jsonResponse.map((post) => Post.fromJson(post)).toList();
}
}// 받아온 데이터를 화면에 표현 (ListView형태)
body: Center(
child: FutureBuilder<List<Post>?>(
future: fetchData(),
builder: (BuildContext context, AsyncSnapshot<List<Post>?> snapshot) {
if (snapshot.hasData) {
return ListView.builder(
itemCount: snapshot.data!.length,
itemBuilder: (context, index) {
return ListTile(
title: Text(snapshot.data![index].title),
subtitle: Text(snapshot.data![index].body),
);
},
);
} else {
return const Center(
child: CircularProgressIndicator(),
);
}
},
),
),'Flutter' 카테고리의 다른 글
| Flutter 구조 살펴보기 (0) | 2024.11.11 |
|---|---|
| Flutter_실전예제해보기 및 느낀Tip 정리 (0) | 2024.10.21 |
| 파이어베이스(3)_CRUD개발 (0) | 2024.10.16 |
| 파이어베이스(2)_연동 (0) | 2024.10.15 |
| 파이어베이스(1)_백엔드 서비스 (0) | 2024.10.14 |