실전예제6 - 블로그앱 만들기 < TextFormField, Firebase CLI 설치법 및 연동 >
< 블로그앱 구성도 >

1. 위젯 구조화
MaterialApp
    HomePage
        Scaffold
            AppBar
                title
            Column
                Text
                ListView
                    Container x n개
            floatingButton
                Icon
    DetailPage
        Scaffold
            AppBar
                action
                    Icon x 2개
            ListView
                Image
                Text x 4개
    WritePage
        Scaffold
            AppBar
                title
                action
                    Text
            ListView
                 TextField x 3개
                 Container
2. UI 구성하기
// 구현코드(일부만)
import 'package:flutter/material.dart';

class Writepage extends StatefulWidget {
  Writepage({super.key});

  @override
  State<Writepage> createState() => _WritepageState();
}

class _WritepageState extends State<Writepage> {
  late final writerController = TextEditingController();
  late final titleController = TextEditingController();
  late final contentController = TextEditingController();

  final formKey = GlobalKey<FormState>();

  @override
  Widget build(BuildContext context) {
    return GestureDetector(
      onTap: () {
        FocusScope.of(context).unfocus();
      },
      child: Scaffold(
        appBar: AppBar(
          title: Text(
            '글쓰기',
            style: TextStyle(
              fontWeight: FontWeight.bold,
            ),
          ),
          actions: [
            GestureDetector(
              onTap: () async {
                formKey.currentState!.validate();
              },
              child: Container(
                width: 50,
                height: 50,
                alignment: Alignment.center,
                child: Text(
                  '완료',
                  style: TextStyle(
                    color: Colors.blue,
                    fontWeight: FontWeight.bold,
                  ),
                ),
              ),
            ),
            SizedBox(
              width: 20,
            ),
          ],
        ),
        body: Form(
          key: formKey,
          child: Padding(
            padding: const EdgeInsets.symmetric(horizontal: 20),
            child: ListView(
              children: [
                TextFormField(
                  controller: writerController,
                  textInputAction: TextInputAction.done,
                  decoration: InputDecoration(hintText: '작성자'),
                  validator: (value) {
                    if (value?.trim().isEmpty ?? true) {
                      return '작성자를 입력해 주세요';
                    }
                    return null;
                  },
                ),
                TextFormField(
                  controller: titleController,
                  textInputAction: TextInputAction.done,
                  decoration: InputDecoration(hintText: '제목'),
                  validator: (value) {
                    if (value?.trim().isEmpty ?? true) {
                      return '제목을 입력해 주세요';
                    }
                    return null;
                  },
                ),
                SizedBox(
                  height: 200,
                  child: TextFormField(
                    controller: contentController,
                    maxLines: null,
                    expands: true,
                    textInputAction: TextInputAction.newline,
                    keyboardType: TextInputType.multiline,
                    decoration: InputDecoration(hintText: '내용'),
                    validator: (value) {
                      if (value?.trim().isEmpty ?? true) {
                        return '컨텐츠를 입력해 주세요';
                      }
                      return null;
                    },
                  ),
                ),
                SizedBox(height: 20),
                Align(
                  alignment: Alignment.centerRight,
                  child: Container(
                    width: 100,
                    height: 100,
                    color: Colors.grey,
                    child: Icon(Icons.image),
                  ),
                ),
              ],
            ),
          ),
        ),
      ),
    );
  }
}
< TextFormField >
TextField에서 입력 검증 기능이 추가된 위젯
validator를 통해 제출시점의 text 입력값에 대한 유효성 검증을 수행할 수 있다.
formKey는 Form위젯과 함께 사용되는 변수이며, 해당 폼의 상태를 관리하거나 검증을 수행할 수 있도록 FormState 객체에 접근하는 역할을 한다. 즉, 해당 변수는 Form위젯의 상태를 가지고 있는 변수라고 생각하면 된다.
이후 다른 위젯에서 (특히 제출하기 버튼같은거) 이벤트를 통해, 해당 입력값의 검증을 수행하려 할때 사용된다.
final formKey = GlobalKey<FormState>();

TextFormField(
  key: formKey,
  decoration: const InputDecoration(
    icon: Icon(Icons.person),
    hintText: 'What do people call you?',
    labelText: 'Name *',
  ),
  onSaved: (String? value) {
    // This optional block of code can be used to run
    // code when the user saves the form.
  },
  validator: (String? value) {
    return (value != null && value.contains('@')) ? 'Do not use the @ char.' : null;
  },
)

ElevatedButton(){
  onPressed: (){
    if(formKey.currentState!.validate()){
      print('Form is valid');
    }
  }
}
< Firebase 연동하기 >
연동하는 절차는 해당 포스팅 참고
파이어베이스(2)_연동
파이어베이스 - 애플리케이션 연동하기 파이어베이스의 프로젝트 개요 화면에서 하단의 이미지를 통해 연동할 수 있다. ios, android, web, unity, flutter(CLI방식)를 연동할 수 있다. ## Flutter 어플리
hamiric.tistory.com
## 추가
파이어베이스와 앱 연동을 보다 편리하게 해주는 명령줄 도구인 Firebase CLI
Firebase CLI 참조 | Firebase 문서
firebase.google.com
Window 환경에서 설치하는 법
위의 링크에서 Window 버전 설치후 실행
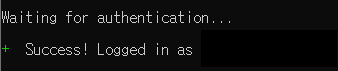
명령어 입력 >> firebase login
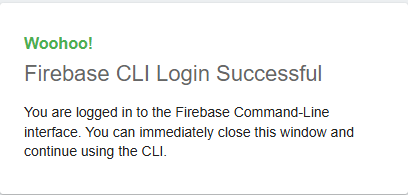
기다리면 약관동의가 나오는데, y 누르고 - 브라우저 열리면 구글계정 로그인

정상적으로 로그인 되었는지 확인
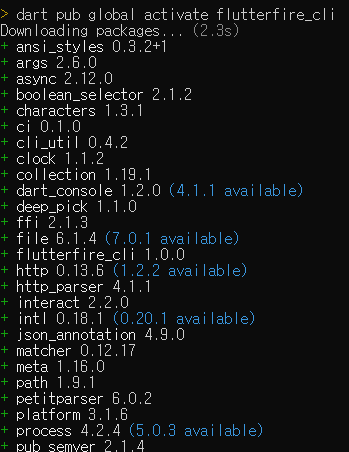
플러터와 파이어베이스 연동에 도움될 수 있는 도구들을 다운받기 위해
명령어 >> dart pub global activate flutterfire_cli
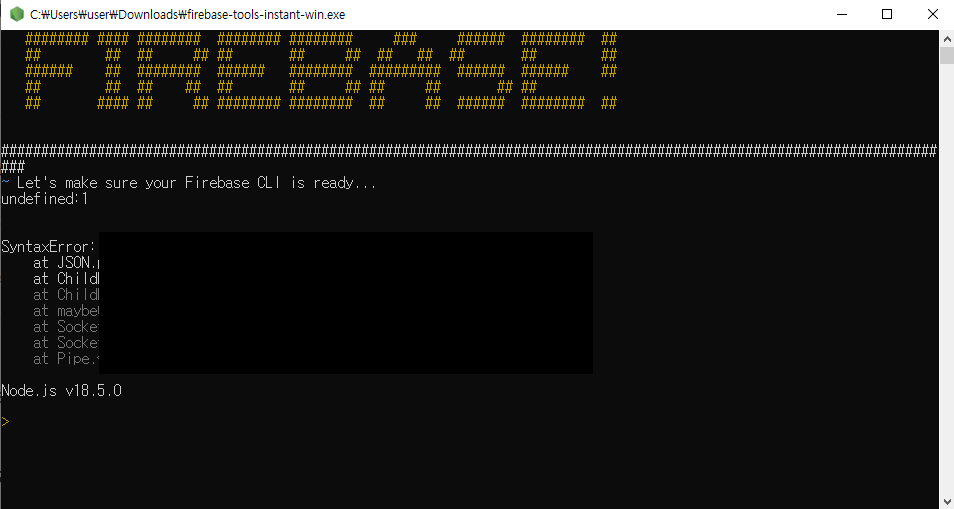
## 안되는 경우, node.js가 최신버전인지 확인!
## Cmd에서 npm install -g firebase-tools 명령어 입력후 Cmd에서 위의 절차를 재 진행
Window 환경에서 CLI 사용하기
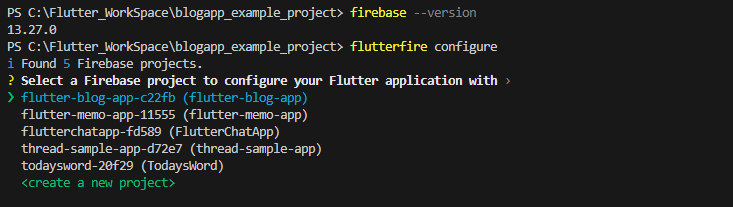
firebase 설치가 정상적으로 끝났다면, firebase --version 명령어가 제대로 작동하는지 확인!
이후, flutterfire configure 명령어를 통해 firebase와 앱 연동을 하기 위한 자동 구성 하기
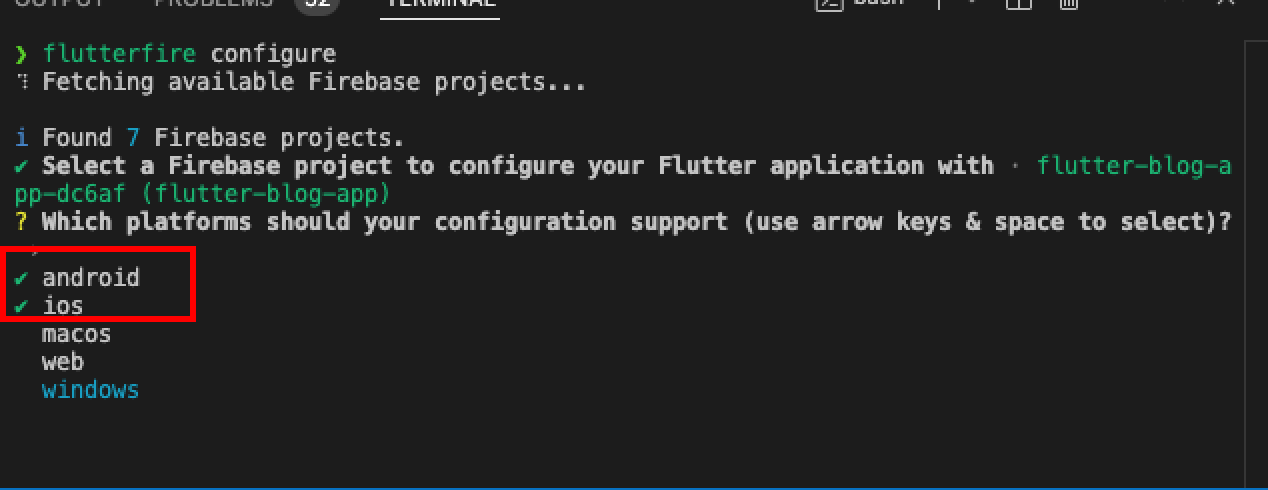
Android 용인지, IOS용인지 체크 - 스페이스바로 중복 선택
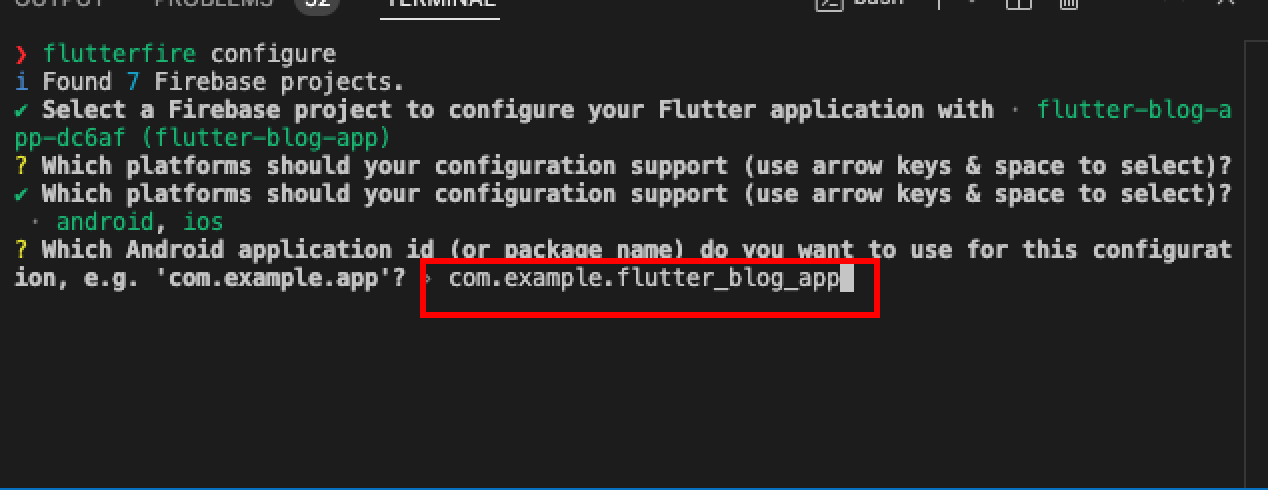
android - app - gradle.build 파일 확인하여 프로젝트 namespace 확인 후 정확히 입력
파이어베이스와 연동이 잘 되었는지 확인
파이어베이스 라이브러리 설치
// Terminal
flutter pub add firebase_core
파이어베이스 데이터베이스를 사용하기 위해 Firebase 초기화 코드를 main에 추가
void main() async {
  WidgetsFlutterBinding.ensureInitialized();
  await Firebase.initializeApp(
    options: DefaultFirebaseOptions.currentPlatform,
  );
  runApp(const MyApp());
}
앱이 정상적으로 실행되면, 파이어베이스와 연동이 성공적으로 되었다는것을 알 수 있다!!!
< Firebase 데이터베이스 사용하기 >
cloud_firestore 라이브러리 설치
// Terminal
flutter pub add cloud_firestore
이제, 데이터를 다루는 레포지토리를 만들어 보자!
레포지토리란, 소프트웨어 디자인 패턴에서의 "저장소" 또는 "데이터 액세스 계층"을 의미한다.
데이터베이스나 외부 저장소와 상호작용하는 코드와 비즈니스 로직을 분리하여, 시스템의 유지보수성과 확장성을 향상시키기 위한 패턴이라고 하는데..
간단히 말하면, 외부와 직접적으로 상호작용하는 로직이 있는 장소라고 생각하자!
PostRepository 만들기
import 'package:cloud_firestore/cloud_firestore.dart';

class PostRepository {
  // posts 컬렉션의 데이터 전체 조회
  Future<void> getAll() async {
    FirebaseFirestore firestore = FirebaseFirestore.instance;
    CollectionReference collectionRef = firestore.collection('posts');

    QuerySnapshot snapshot = await collectionRef.get();
    List<QueryDocumentSnapshot> documentSnapshots = snapshot.docs;

    for(var docSnapshot in documentSnapshots){
      print(docSnapshot.data());
    }
  }

  // posts 컬렉션의 특정 데이터 조회
  Future<void> getOneById() async{
    FirebaseFirestore firestore = FirebaseFirestore.instance;
    CollectionReference collectionRef = firestore.collection('posts');

    DocumentReference documentRef = collectionRef.doc('문서 ID');
    DocumentSnapshot documentSnaphot = await documentRef.get();

    print(documentSnaphot.data());
  }

  // posts 컬렉션의 문서 생성
  Future<void> insert() async{
    FirebaseFirestore firestore = FirebaseFirestore.instance;
    CollectionReference collectionRef = firestore.collection('posts');

    DocumentReference documentRef = collectionRef.doc();
     Map<String, dynamic> data = {
      'writer': '김철수',
      'title': '타이틀',
      'content': '내용',
      'createdAt': DateTime.now().toIso8601String(),
    };
    await documentRef.set(data);
  }

  // posts 컬렉션내의 문서 수정(업데이트)
    Future<void> udpate() async {
    FirebaseFirestore firestore = FirebaseFirestore.instance;
    CollectionReference collectionRef = firestore.collection('posts');

    DocumentReference documentRef = collectionRef.doc('수정할 문서의 ID');
    Map<String, dynamic> data = {
      'writer': '김철민',
    };
    await documentRef.update(data);
  }

  // posts 컬렉션내의 문서 삭제
    Future<void> delete() async {
    FirebaseFirestore firestore = FirebaseFirestore.instance;
    CollectionReference collectionRef = firestore.collection('posts');

    DocumentReference documentRef = collectionRef.doc('삭제할 문서의 ID');
    await documentRef.delete();
  }
}
사용하기
서버에서 값을 불러와야 하므로, 비동기 async 이용하여 사용한다!
final repo = PostRepository();
await repo.getAll();
## 추가
파이어 베이스의 데이터베이스 값이 변동될때마다 업데이트를 하고 싶다면?
데이터 베이스에서 값을 입력받는 타이밍을 스트림과 스냅샷을 이용해, 변화가 있을때마다 값을 불러오도록 함!
  Future<void> fetchData() async {
    final stream = postRepository.postListStream();
    // 스트림의 변경사항을 구독하고 상태를 업데이트
    final streamSubscription = stream.listen(
      (newList) {
        state = newList;
      },
    );

    // 이 뷰모델이 없어질 때 구독을 끝내주어야 메모리에서 안전하게 제거
    ref.onDispose(
      () {
        streamSubscription.cancel();
      },
    );
  }
< Firebase 스토리지 사용하기 >
firestore_storage 라이브러리 설치
// Terminal
flutter pub add firebase_storage
ImagePicker를 이용하여, 선택된 이미지를 업로드한 후, 해당 URL을 state에 집어넣는 로직
  Future<void> uploadImage(XFile xFile) async {
    try {
      FirebaseStorage storage = FirebaseStorage.instance;
      Reference storageRef = storage.ref();

      // 중복을 피하기 위해, 날짜정보도 파일이름으로 추가
      final imageRef = storageRef
          .child('${DateTime.now().microsecondsSinceEpoch}_${xFile.name}');

      await imageRef.putFile(File(xFile.path));

      final url = await imageRef.getDownloadURL();
      state = WritePageState(false, url);
    } catch (e) {
      print(e);
    }
  }